Paver Maintenance 101: Preventing Mold and Weeds in Florida Humidity
Quick Answer: In Central Florida, pavers stay damp far longer than most owners expect, and that dampness is what feeds green algae, dark mold stains, and the weeds that root in the joints. A well chosen sealer slows all of it down by reducing how much water and organic debris the surface absorbs, but only if it is breathable, meaning it lets moisture vapor escape instead of sealing it in. A cheap film forming product applied over a paver that has not fully dried can turn cloudy, blister, or peel within a season. Professional grade, breathable sealing after a proper deep clean, paired with a simple cleaning rhythm, is the most dependable way to keep pavers clean looking in Clermont humidity.
It is a Saturday morning in late August, and you step onto the back patio with your coffee. The pavers looked rich and even when they went in. Now there is a gray green film along the shaded edge by the fence, dark freckles near the downspout, and a thin line of weeds tracing the joints where the sprinkler overspray lands every morning. You sweep, you hose it down, and the patio looks better for about a week. Then the film comes back, as though it never left.
If that sounds familiar, the pavers are not defective and you did not install them badly. You are simply dealing with what Central Florida air and rain do to any porous outdoor surface. This guide explains why the growth keeps returning, what sealing actually does, why the type of sealer matters so much in our climate, and how to build a maintenance routine that keeps your patio, walkway, or driveway looking the way it did on day one.
Why Pavers Turn Green and Gray in Central Florida
Growth on a paver surface is a moisture story. Algae, mold, and mildew need three things: a place to land, something to feed on, and water that sticks around. Central Florida supplies all three on a generous schedule.
Humidity That Never Really Leaves
Summer mornings in Lake and Orange County often begin with dew, while afternoon storms add moisture before surfaces fully dry. Warm, wet conditions create favorable environments for algae and fungal growth on outdoor pavers.
A Porous Surface That Holds Water
Concrete pavers and natural stone contain tiny pores that absorb rain and irrigation water. Unsealed surfaces release moisture slowly, allowing dampness to remain beneath the surface longer, creating conditions microscopic growth favors.
Organic Debris That Feeds The Cycle
Oak pollen, palm fronds, grass clippings, and dust settle into paver textures and joints. As they break down, they provide nutrients, while sandy soil can create places where weed seeds take root.
Shade And Poor Drainage
North-facing areas, spaces beneath trees, and low spots that hold stormwater often develop film faster than sunny, well-drained surfaces. Shade and standing water keep pavers damp longer, encouraging algae and fungal growth.
Understanding this matters because it changes the goal. You are not trying to scrub the patio clean once. You are trying to change how much water and debris the paver holds so the next film has a harder time getting started.
What Sealing Actually Does for a Paver
A sealer is a protective coating or penetrating treatment applied to the paver surface and, in many systems, stabilizes the joint material as well. The right product does several jobs at once.
It Reduces Absorption
Sealer slows how much rain, irrigation water, and spills enter pavers, helping surfaces dry faster. Faster drying gives algae and mold less opportunity to establish between storms.
It Makes Cleaning Easier
Sealed surfaces resist dirt and organic film, making routine rinsing and gentle cleaning more effective. Easier maintenance also reduces the need for aggressive cleaning methods over time.
It Protects Color
Florida sunlight can fade paver pigments. Many sealers provide UV resistance or color enhancement, while finishes range from natural-looking to glossy, allowing homeowners to choose their preferred appearance.
It Supports The Joints
Sealing stabilized joints helps keep joint material in place, making it harder for weeds to penetrate and heavy rain to wash sand away from between pavers.
It helps to be realistic about what sealing does not do. A sealer is not a force field. It will not make algae impossible, and a shaded, damp corner will still need attention over time. What it does is tilt the odds in your favor and make every future cleaning easier.
Why Breathable Matters So Much in Clermont
This is the part of paver care that most homeowners never hear about until something goes wrong. Sealers fall broadly into two families, and they behave very differently in humid weather.
Film Forming Sealers
Film forming sealers create a coating over pavers. Non-breathable products can trap moisture inside, causing vapor pressure under Florida sun to produce milky haze, bubbling, or peeling when moisture cannot escape through the sealed surface.
Penetrating And Breathable Sealers
Penetrating sealers soak into paver pores instead of forming thick surface coatings. Breathable products repel liquid water while allowing vapor to escape, making them better suited to humid climates where moisture constantly moves through pavers in both directions.
Contractor And Manufacturer Guidance For Florida
Florida guidance emphasizes allowing pavers to dry completely before sealing because trapped moisture commonly causes coating failures. Drying may require one or two days, but the exact timeframe depends on product instructions and weather conditions during application.
Why The Product Grade Matters
Sealers vary significantly in durability and performance. Professional-grade products are designed for ultraviolet exposure and specify moisture, coverage, and application requirements. Overapplication, damp surfaces, or direct afternoon sun can create blotchy, cloudy finishes that are difficult to correct.
Warning: Do not seal pavers that still feel cool or damp, even if the top looks dry. Moisture trapped under a coating is the most common reason sealer turns cloudy or peels in humid weather. When in doubt, wait another dry day.
The Right Order of Operations
Good sealing is mostly preparation. Skipping a step is what separates a finish that lasts from one that disappoints.
Step One Clean Thoroughly
Remove algae, mold, stains, and embedded dirt before sealing. Sealing over growth traps it underneath and creates an uneven, patchy appearance later.
Step Two Repair And Reset
Correct loose, sunken, or rocking pavers first. Sealing cannot fix base problems, so settled sections must be lifted and properly reset before sealing.
Step Three Refill And Stabilize The Joints
After cleaning, refill joints completely and stabilize them before sealing. Properly filled joints help resist weed growth and maintain the surface between cleanings.
Step Four Dry Completely
Allow the entire surface to dry thoroughly before sealing. Florida weather can complicate scheduling, so monitor forecasts and avoid unexpected showers during preparation.
Step Five Apply The Sealer Evenly
Apply thin, even sealer coverage under suitable conditions. Avoid puddles, pooling, and overlapping lines, which can create darker or unusually glossy patches.
Step Six Allow Proper Cure Time
Follow the product's recommended curing period before allowing foot traffic, furniture, or sprinklers. Premature use can leave marks or damage that becomes permanent.
A Simple Maintenance Rhythm for Humid Weather
Even a well sealed patio benefits from a routine. The good news is that the routine is light when the sealing was done right.
Weekly Or Every Other Week
Sweep or blow away leaves, pollen, and grass clippings weekly or biweekly. Removing organic debris early helps prevent buildup that feeds surface growth.
Monthly In The Wet Season
Rinse monthly during wet seasons, focusing on shaded edges, downspouts, and planting beds. Use a soft broom and paver-safe cleaner for early film.
After Storms
Clear debris and check drainage after storms. Persistent pooling indicates grading or design problems that should be corrected rather than repeatedly cleaned.
Each Season
Inspect joints for low sand, weeds, and sprinkler overspray. Removing tiny seedlings early is easier than pulling established weeds from hardened joints.
Every Few Years
Sealed surfaces eventually need resealing. Depending on product, exposure, and traffic, renewal commonly occurs every two to four years when water stops beading.
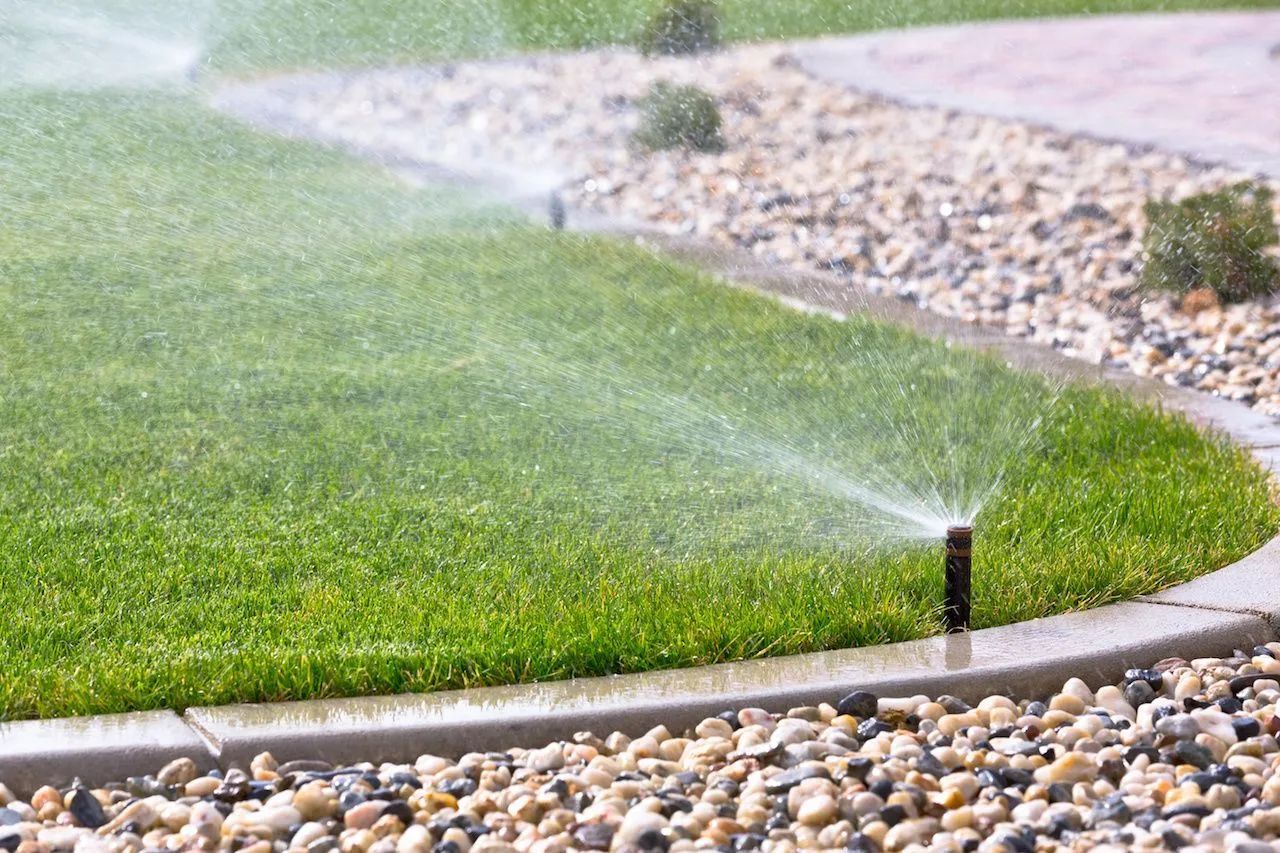
Tip: Adjust your sprinkler heads so they water the lawn and beds, not the pavers. Constant overspray keeps joints damp and is one of the fastest ways to invite both algae and weeds.
Four Factors That Decide Which One Your Property Needs
Wall height
Under roughly 3 feet, reinforcement is rarely necessary. Between 4 and 6 feet, it's often warranted depending on the other factors below. Past 6 feet, a gravity design is generally not the right tool for the job.
What's above the wall
A slope that keeps climbing behind the wall adds ongoing lateral pressure that a short gravity structure wasn't sized to handle, even if the wall itself is only a few feet tall. The relevant number isn't just the wall's height — it's the total grade change the wall is being asked to manage.
Surcharge loads
A driveway, patio, shed, pool deck, or parked vehicle sitting above a wall adds weight that pushes down and outward on the soil behind it. Any of these loads shifts the calculation toward reinforcement, even on a wall that would otherwise be short enough for gravity alone.
Soil type
Central Florida's sandy soils drain quickly and generally carry less lateral pressure than dense clay, which works in a gravity wall's favor on the right site. But sand alone doesn't override the other three factors — a short gravity wall in clean sand still needs reinforcement if there's a slope climbing behind it or a load sitting on top.
Tip: Drainage decides how long either wall type lasts. Trapped water behind a retaining wall adds hydrostatic pressure that neither gravity nor geogrid was designed to resist, so both wall types need a compacted gravel backfill, a perforated drain pipe at the base, and weep holes or outlets that give water somewhere to go besides pushing on the wall.
Little Design Choices That Make a Big Difference
Some of the best protection happens before the pavers are ever sealed. If you are planning a new patio or renovating an older one, a few design decisions make the long term upkeep much easier.
Slope And Drainage
A patio should slope gently away from the house. Proper drainage reduces standing water, helping prevent persistent moisture, film, and surface growth.
Shade Planning
Shade improves comfort but slows drying. Plan shaded seating areas intentionally, keeping heavily used walking surfaces exposed to sunlight whenever practical.
Planting Bed Edges
Mulch, leaves, and soil can migrate onto pavers. Clean, defined planting bed edges help keep organic debris away from surfaces and joints.
When to Call a Professional
Plenty of owners can handle sweeping, rinsing, and small touch ups. A professional is worth considering when the surface has heavy staining, when pavers have a stubborn haze or peeling from an earlier sealer, when the area is large, or when you want a finish that is rated for our climate and applied under the right conditions.
A professional team also tests a small area first, matches the product to the paver material, and watches the weather, all of which are difficult to do on a busy weekend. If an earlier sealer has failed, a pro can assess whether it needs to be stripped before a new product goes on, since layering a new coat over a failing one rarely works.
Frequently Asked Questions
Should I seal my pavers in Florida at all?
For most patios, walkways, and driveways in Central Florida, sealing is worthwhile because it reduces absorption and makes cleaning easier. Some owners prefer an unsealed look and accept more frequent cleaning.
What does breathable sealer actually mean?
A breathable sealer repels liquid water but lets water vapor pass out of the paver. In humid weather, that prevents moisture from being trapped under the coating and causing a cloudy or peeling finish.
How long should pavers dry before sealing?
Many guides suggest a day or two of dry weather after cleaning, but it depends on the product, humidity, and shade. Follow the product directions and be cautious in the rainy season.
Can I pressure wash my pavers before sealing?
Low to moderate pressure with good technique is common, but very high pressure can scar the surface and blow sand from the joints. Soft washing or gentle scrubbing often suits older pavers better.
How often should sealed pavers be resealed?
Contractor guidance for Florida often points to about every 2 to 4 years, though it varies. If water soaks in instead of beading, or the color looks dull, it may be time for a check.
Will sealing stop weeds completely?
No. Sealing with well packed, stabilized joints makes it much harder for weeds to root, but windblown seeds can still find a foothold. Regular sweeping and quick removal of seedlings keep the problem small.
A Patio That Stays Fresh Through Every Season
Central Florida humidity will always test a paver surface, but the patio does not have to lose that contest. A deep clean, joints packed and stabilized, and a breathable sealer applied on a properly dried surface change how much water and debris the pavers hold onto. Add a light seasonal routine of sweeping, rinsing, and watching the sprinkler overspray, and the gray green film has far less to grip. The result is a walkway or patio that looks cared for without constant scrubbing.
Elite Outdoor Scapes
has spent 10
years building and caring for outdoor spaces in Clermont, FL, and the lesson repeats from yard to yard. Good preparation matters more than any single product, and a sealer chosen for this climate does its best work when the surface underneath is sound. When those pieces come together, moisture moves out instead of getting trapped, and the pavers keep their color and clean lines. Owners end up spending their weekends enjoying the patio rather than fighting it.